By Trilby
Why Use an Earthquake Shake Table in the Classroom?
Looking for an exciting way to teach students about earthquakes, engineering, and structural stability? A DIY earthquake shake table for classroom projects is a hands-on tool that helps students understand how buildings respond to seismic forces. These simple, budget-friendly shake tables simulate earthquake motion and can be used for testing student-built structures.
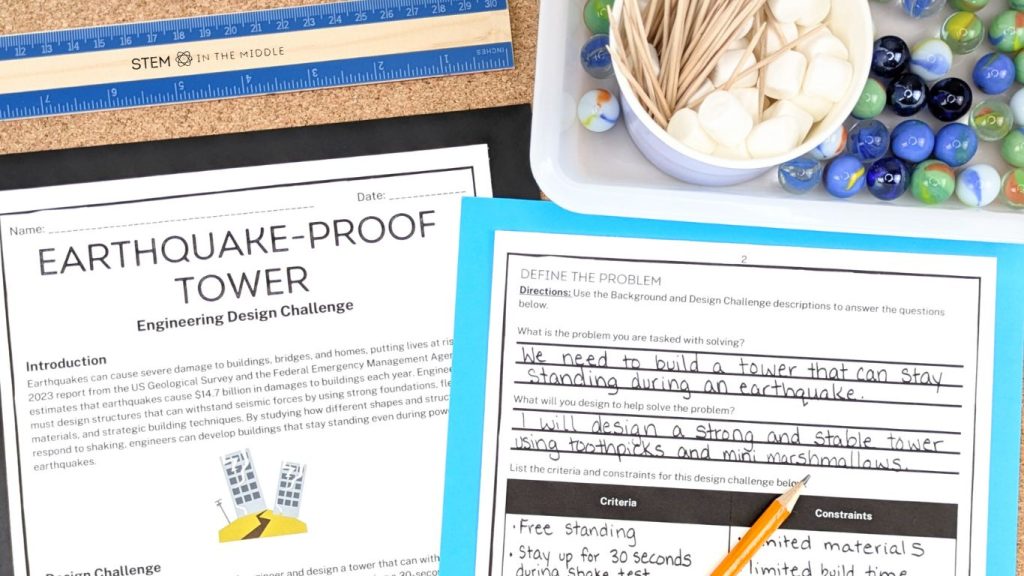
Grab a done-for-you earthquake-proof tower STEM challenge here!
Here are four easy ways to make an earthquake shake table using everyday materials.
1. Tray & Rubber Ball Shake Table
Best for: Simulating unpredictable earthquake movements
Materials:
- A metal cookie sheet, plastic tray, or box lid
- Four rubber balls (or tennis balls)
- A flat surface
How to Make It:
- Place the rubber balls on a table in a rectangular formation (two in front, two in back).
- Put the cookie sheet, tray, or lid on top of the rubber balls.
- Place the structure to test on top of the tray.
- To simulate an earthquake, gently shake or tap the sides of the tray.
Why It Works:
The rolling motion of the balls creates an unpredictable, multi-directional shaking effect, similar to actual earthquakes.
- Pros: Simple setup, inexpensive, easy to use.
- Cons: Less control over movement, may not provide consistent shaking patterns.
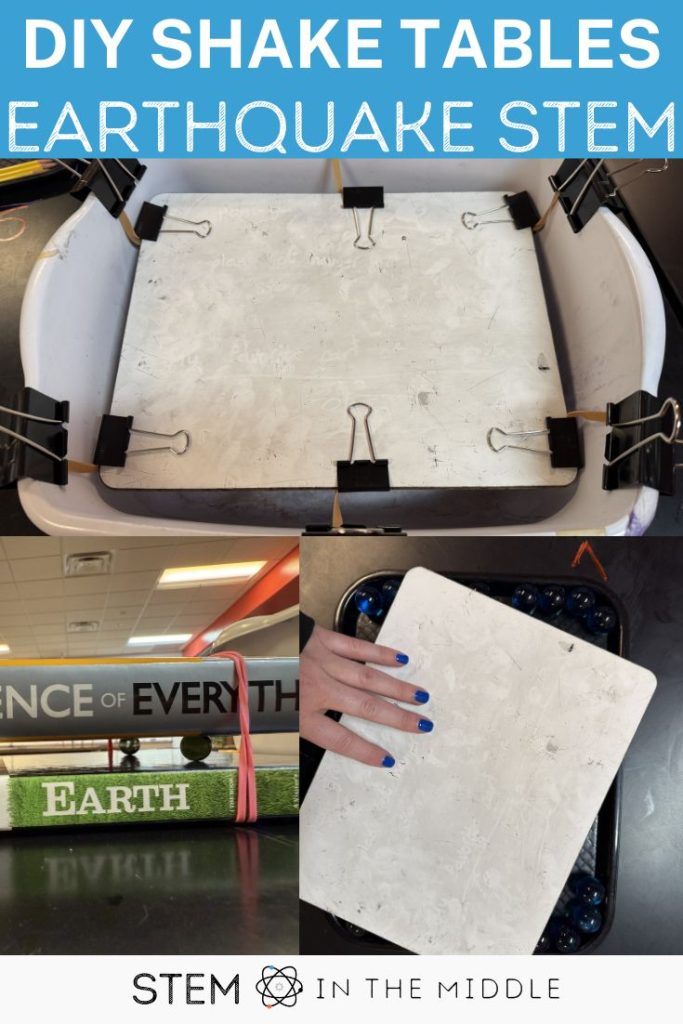
2. Rubber Band & Board Shake Table
Best for: Controlled, multidirectional shaking
Materials:
- A whiteboard or sturdy piece of cardboard (about the size of a notebook)
- A medium-sized box that the whiteboard or cardboard can fit inside
- Rubber bands
- Binder clips
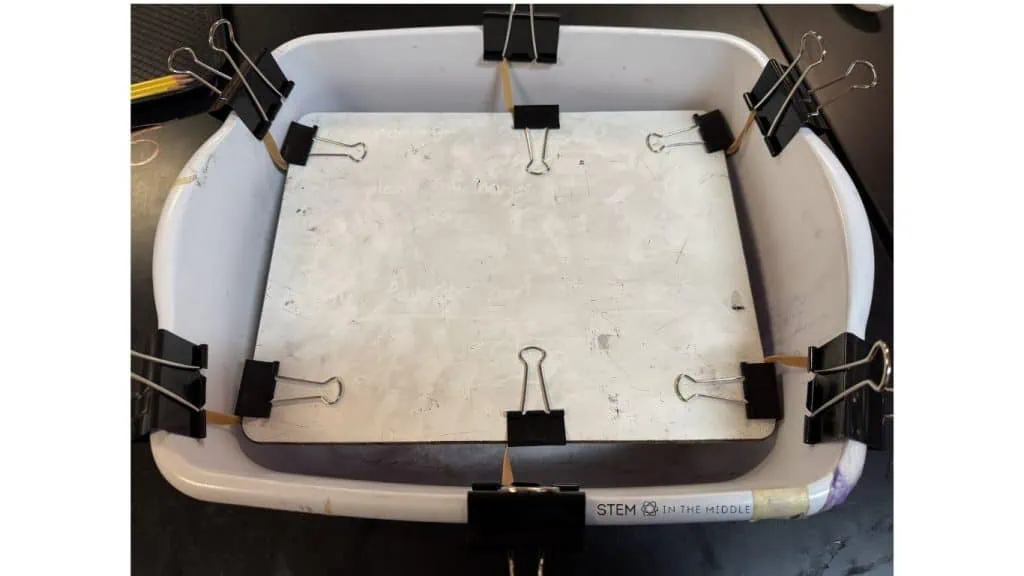
How to Make It:
- Use the binder clips to attach 6-8 rubber bands to the outside edges of the board.
- Attach the other end of each rubber band to the lip of the box so that the board is suspended inside the box.
- Place the structure to be tested on top of the board.
- Pull and release the board to create a shaking motion.
Why It Works:
The rubber bands provide tension, allowing the board to shake in a controlled, repeatable way, making it great for testing different structure designs under the same conditions.
- Pros: Multi-directional movement, controlled shaking, reusable setup.
- Cons: Requires careful assembly, rubber bands may wear out over time.
3. Stack of Books & Marbles Earthquake Shake Table
Best for: Horizontal shaking
Materials:
- Two hardcover books of similar size
- Four marbles
- Rubber bands

How to Make It:
- Place the marbles between the two books, positioned near the corners.
- Secure the books together with rubber bands.
- Place the structure to be tested on the top book.
- Gently push and release the top book to create shaking motions.
Why It Works:
This method mimics lateral ground movement, helping students see how buildings handle side-to-side seismic forces.
- Pros: Provides more controlled shaking, easy to construct.
- Cons: Limited range of motion, requires even pressure to simulate shaking properly.
4. Pan of Jello Shake Table
Best for: Visualizing how earthquakes affect building foundations
Materials:
- A large pan
- Prepared Jello (firm consistency works best)
How to Make It:
- Prepare a large pan of Jello and let it set overnight.
- Shake the pan gently and observe how the buildings respond.
Why It Works:
This method demonstrates liquefaction, a real phenomenon where soft, water-saturated ground behaves like a liquid during earthquakes, causing buildings to sink or collapse.
- Pros: Visually engaging, great for demonstrating soil movement.
- Cons: Single-use, can get messy, requires refrigeration.
Using Your DIY Earthquake Shake Table in the Classroom
Each of these shake tables can be used for science and engineering challenges. Students can build different structures and test which designs are most earthquake-resistant. Encourage them to experiment with materials, foundation types, and support reinforcements to see how they affect structural stability.
A DIY earthquake shake table for classroom projects is an excellent way to engage students in STEM learning through hands-on experimentation. Try these methods in your classroom and watch students become structural engineers in action!
Ready to Plan Your Project?
If you’re looking for a complete, ready-to-go classroom challenge, check out my Earthquake-Resistant Tower STEM Challenge! This engaging project guides students through designing and testing earthquake-proof structures using the principles they explore with these shake tables. With detailed teacher notes, student worksheets, and a slideshow, it’s the perfect way to take this lesson to the next level.